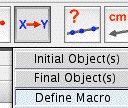
If you are going to make a macro, start with points.
For a glide reflection macro, first construct two points,


then make a vector joining them.


Then create a third point, which is the original object for the transformation.


Translate the original object point by the vector,
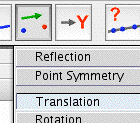

then reflect the image, again by the vector.


You can change the colour or size of the original point and the image point at this time.


Next, select "Initial Objects" from the Macro menu button, and click on the two points defining the vector and the Origin Point.
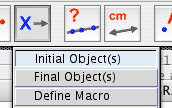

Then select "final Objects" from the Macro menu button, and click on the final image point
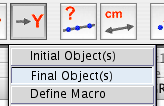
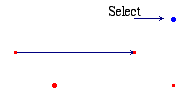
If you want the points defining the vector to be hidden when the Macro is used, hide them now. You don't need to hide the vector and the intermediate image point. Only the intial and final objects appear when the macro is used.

The last step in making the macro is to select Define Macro from the Macro menu button. Fill in a name for your macro, give it a nice icon if you like, and Save it as a file, so you can use it later.
